Making a Crude ML Powered Chatbot in Swift using CoreML
A chatbot/virtual assistant, on paper, looks easy to build. The user says something, the programs finds the best action, checks if additional input is required and sends back the output. To do this in Swift, I used two separate ML Models created using Apple's Create ML App. First is a Text Classifier to classify intent, and the other a word tagger for extracting input from the input message. Disclaimer: This is a very crude proof-of-concept, but it does work.
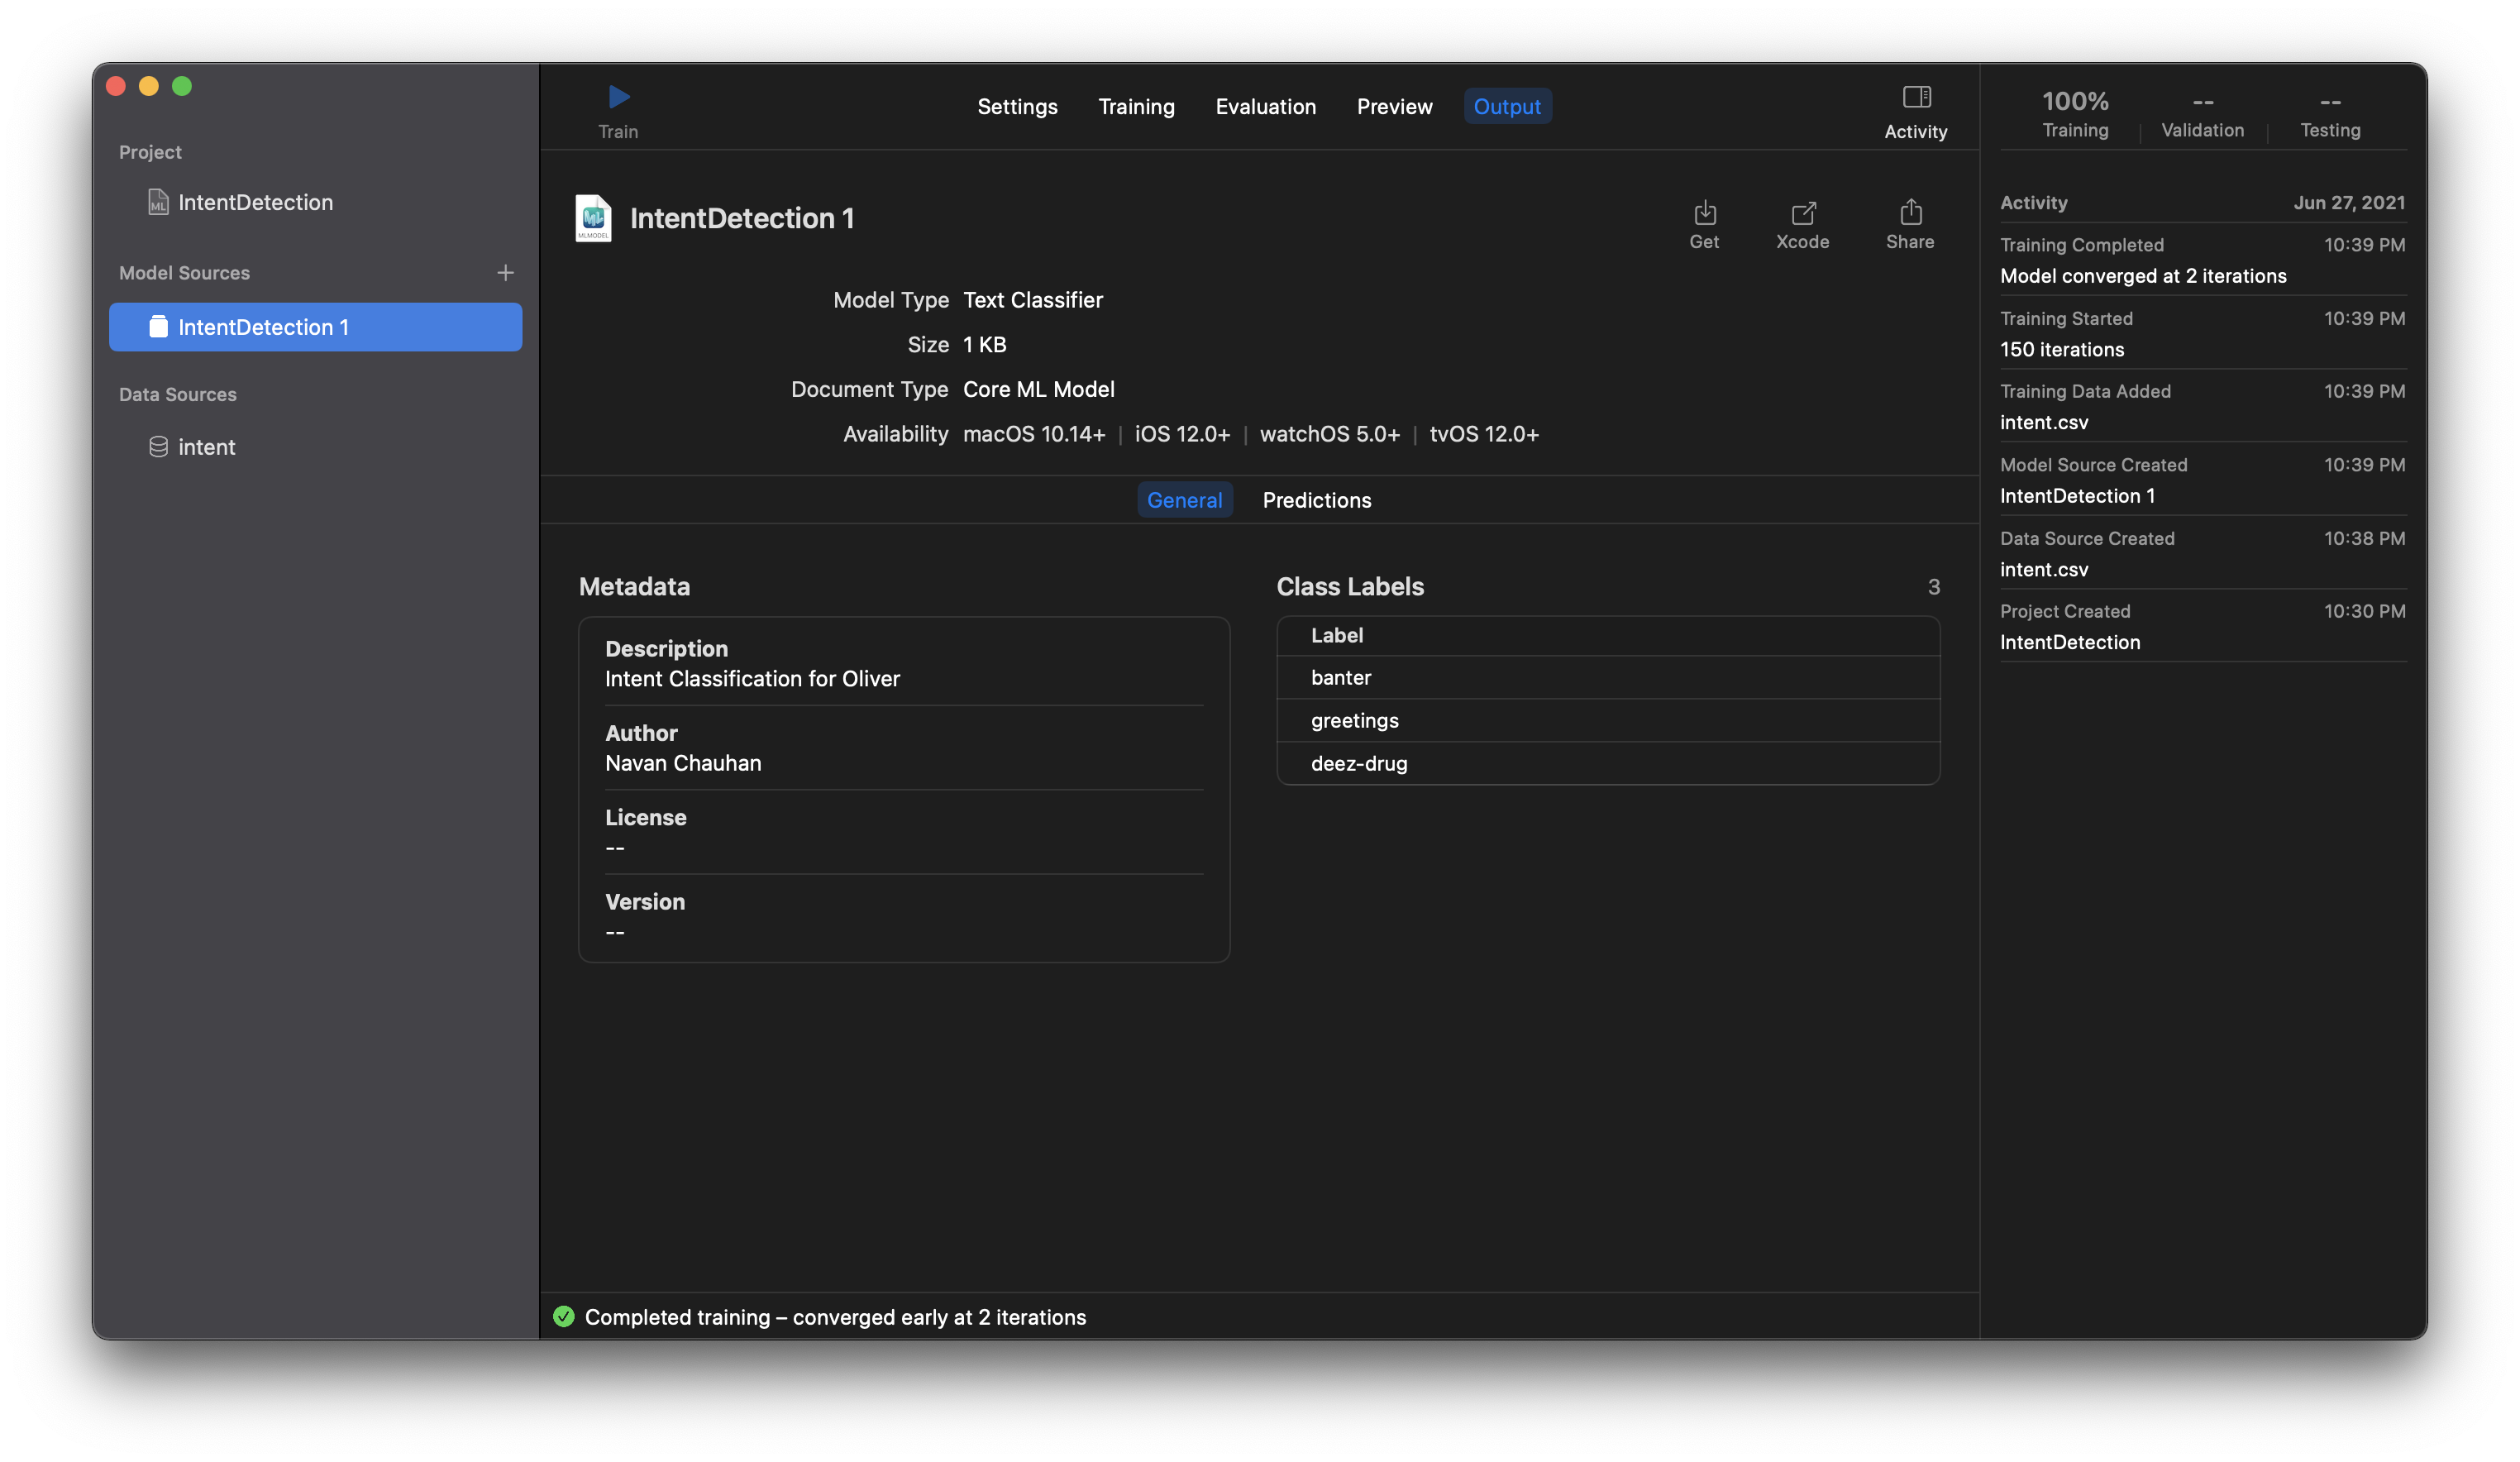
Text Classifier
I opened a CSV file and added some sample entries, with a corresponding label.
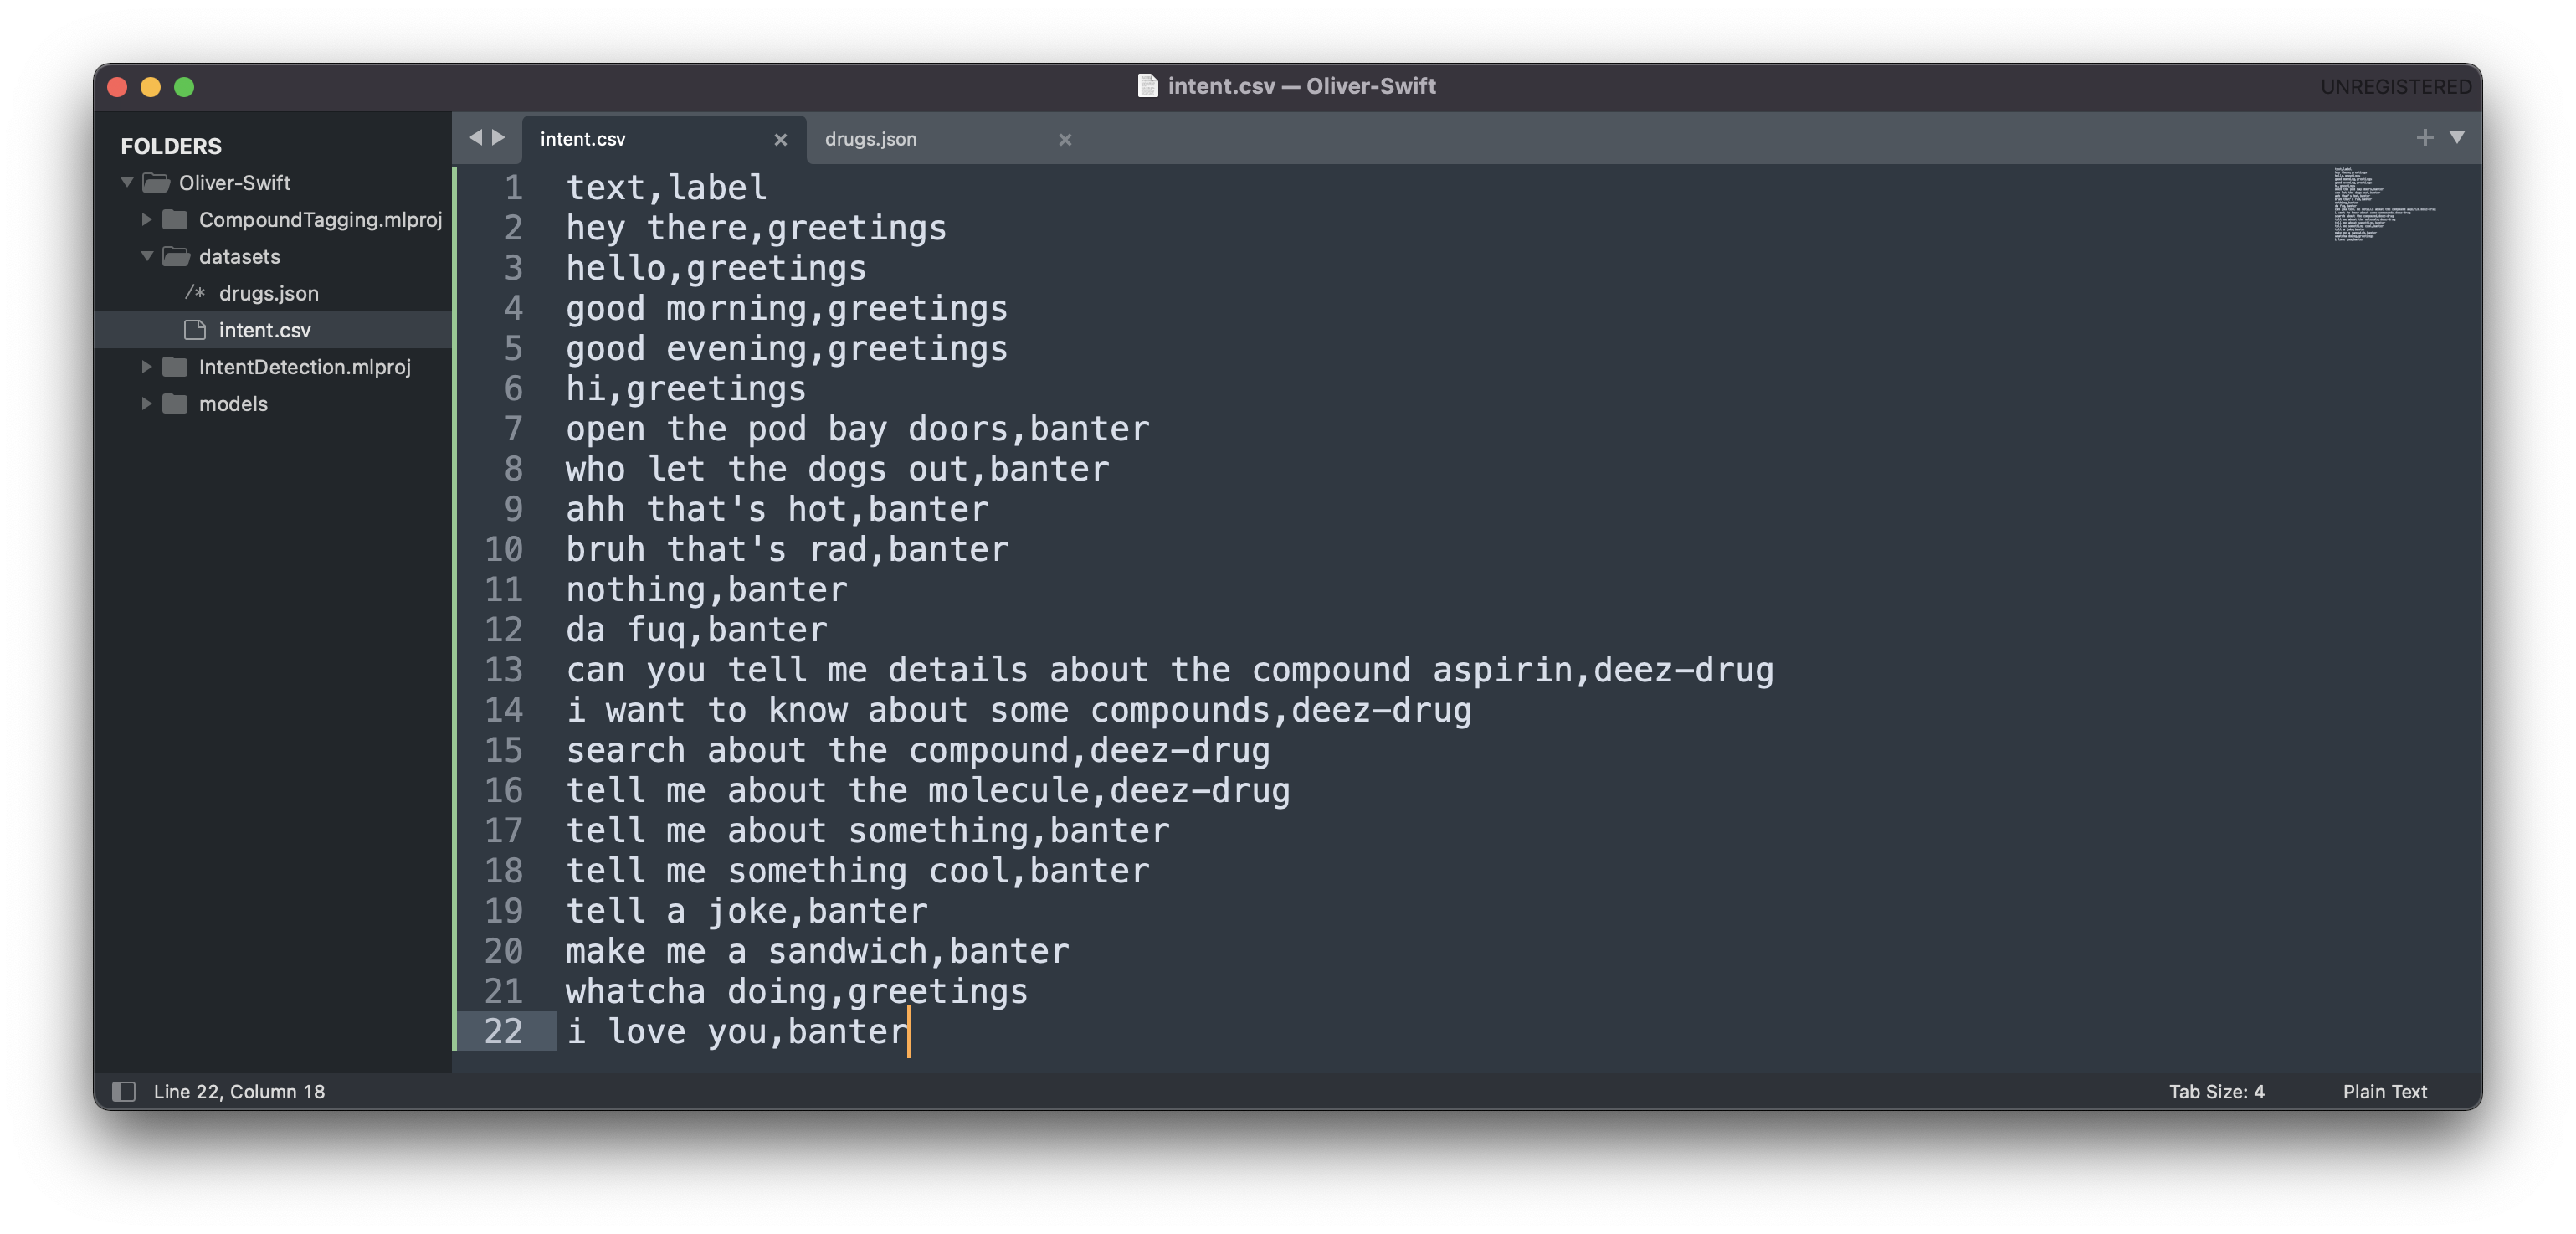
text,label
hey there,greetings
hello,greetings
good morning,greetings
good evening,greetings
hi,greetings
open the pod bay doors,banter
who let the dogs out,banter
ahh that's hot,banter
bruh that's rad,banter
nothing,banter
da fuq,banter
can you tell me details about the compound aspirin,deez-drug
i want to know about some compounds,deez-drug
search about the compound,deez-drug
tell me about the molecule,deez-drug
tell me about something,banter
tell me something cool,banter
tell a joke,banter
make me a sandwich,banter
whatcha doing,greetings
i love you,banter
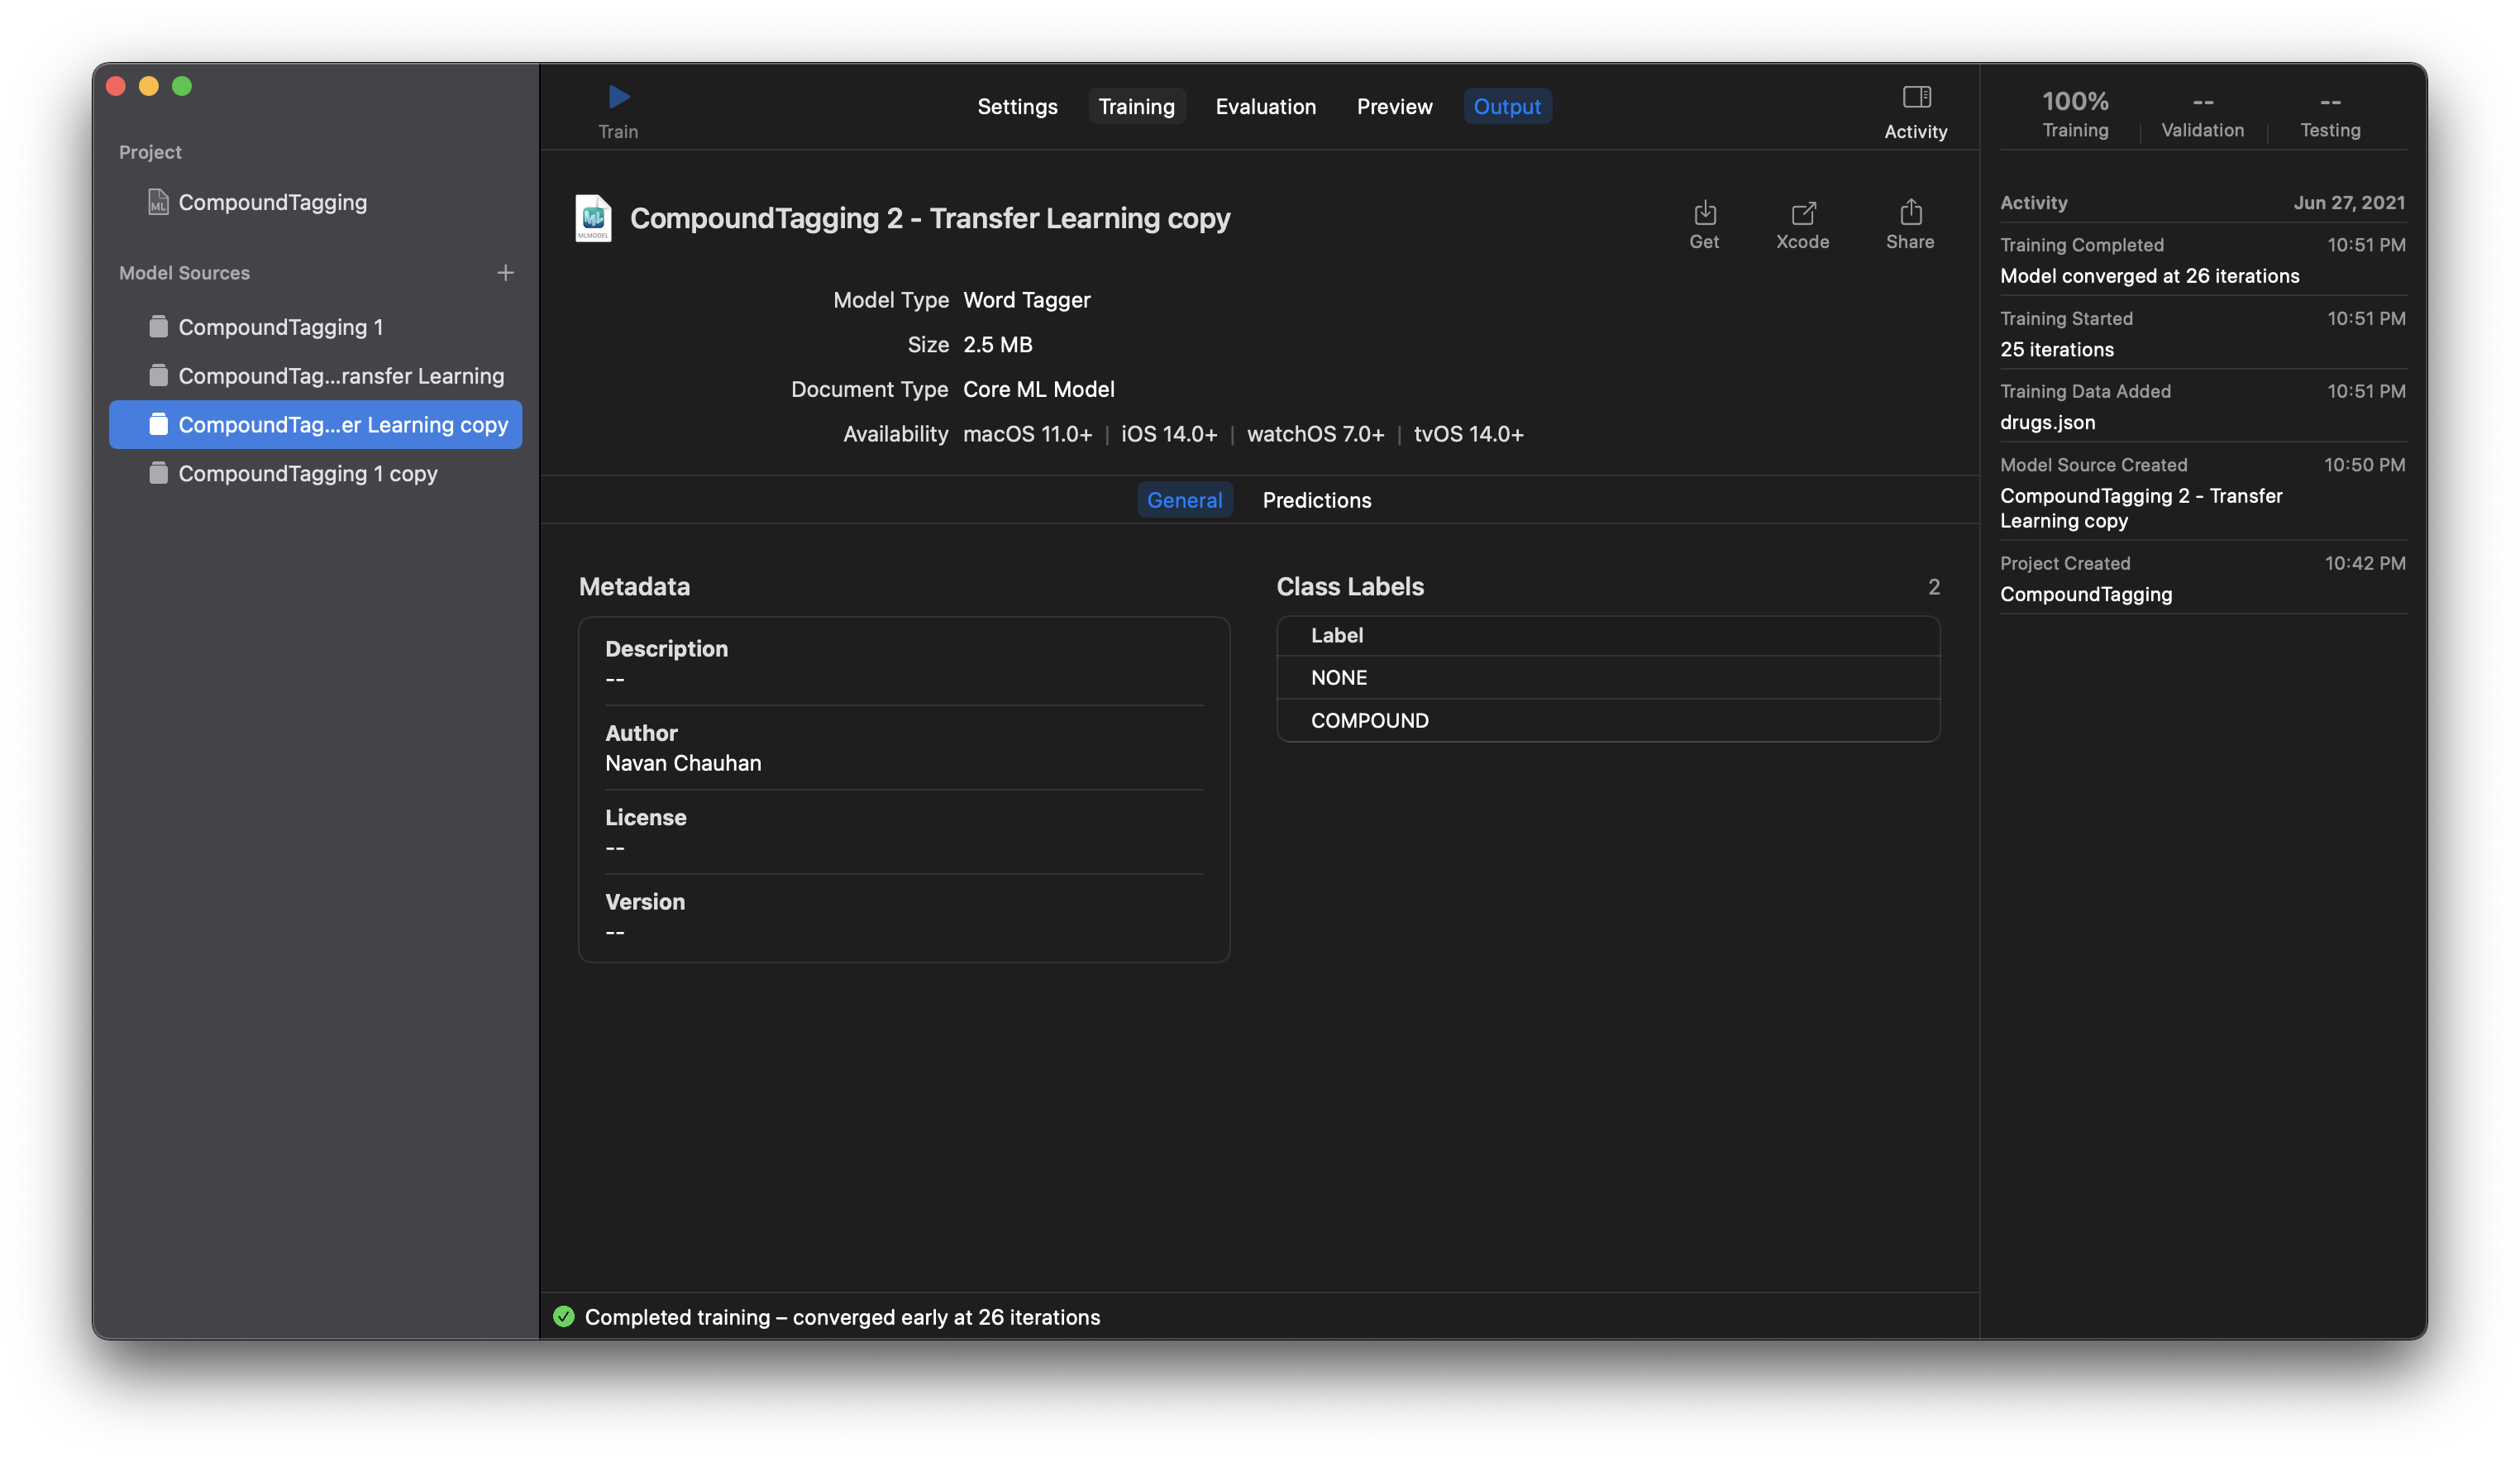
Word Tagging
This is useful to extract the required variables directly from the user's input. This model will be only called if the intent from the classifier is a custom action. I created a sample JSON with only 3 examples (I know, very less, but works for a crude PoC).
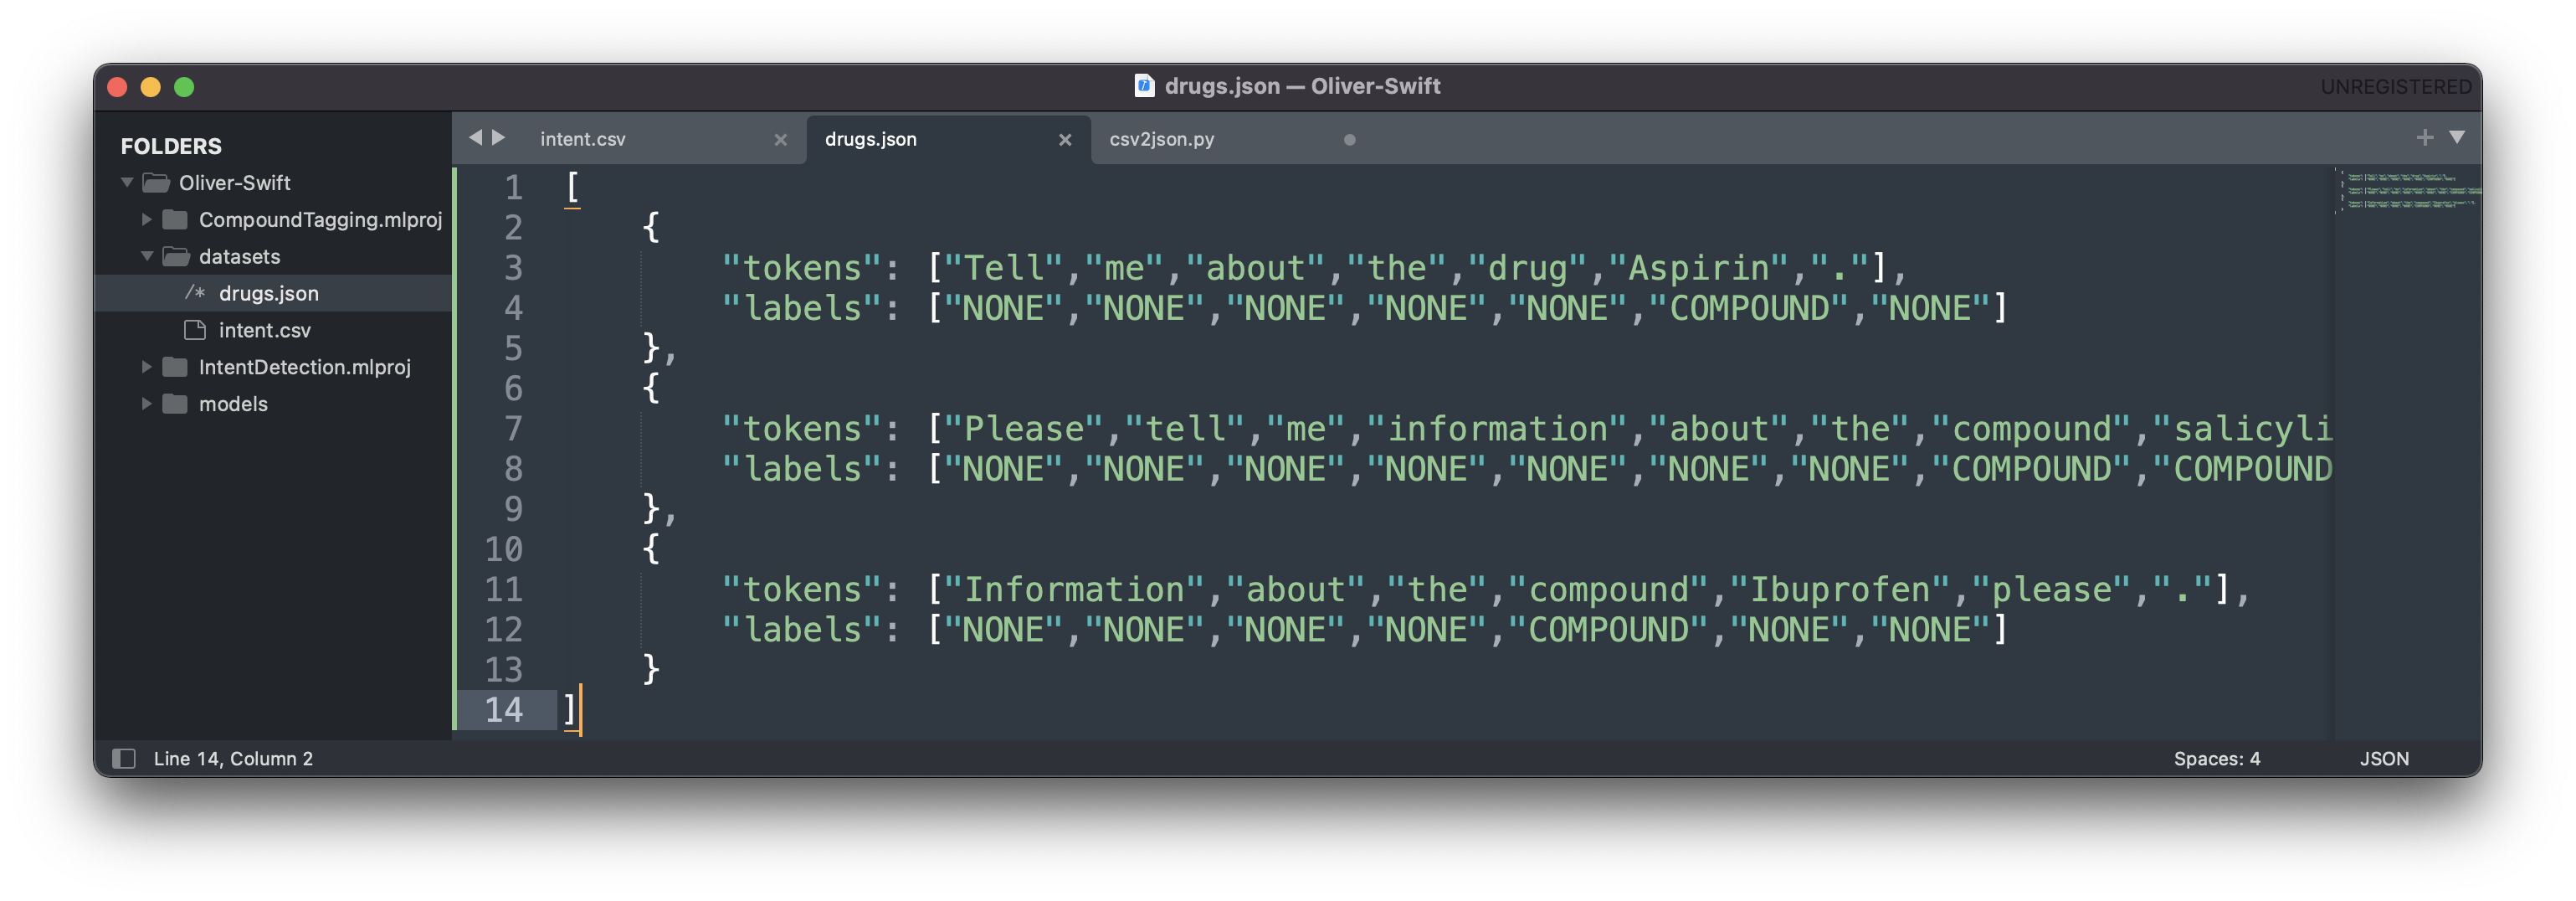
[
    {
        "tokens": ["Tell","me","about","the","drug","Aspirin","."],
        "labels": ["NONE","NONE","NONE","NONE","NONE","COMPOUND","NONE"]
    },
    {
        "tokens": ["Please","tell","me","information","about","the","compound","salicylic","acid","."],
        "labels": ["NONE","NONE","NONE","NONE","NONE","NONE","NONE","COMPOUND","COMPOUND","NONE"]
    },
    {
        "tokens": ["Information","about","the","compound","Ibuprofen","please","."],
        "labels": ["NONE","NONE","NONE","NONE","COMPOUND","NONE","NONE"]
    }
]
Time to Get Swift-y
The initial part is easy, importing CoreML and NaturalLanguage and then initializing the models and the tagger.

import CoreML
import NaturalLanguage

let mlModelClassifier = try IntentDetection_1(configuration:  MLModelConfiguration()).model
let mlModelTagger = try CompoundTagger(configuration: MLModelConfiguration()).model

let intentPredictor = try NLModel(mlModel: mlModelClassifier)
let tagPredictor = try NLModel(mlModel: mlModelTagger)

let tagger = NLTagger(tagSchemes: [.nameType, NLTagScheme("Apple")])
tagger.setModels([tagPredictor], forTagScheme: NLTagScheme("Apple"))
Now, we define a simple structure which the custom function(s) can use to access the provided input. It can also be used to hold additional variables. This custom action for our third label, uses the Word Tagger model to check for the compound in the user's message. If it is present then it displays the name, otherwise it tells the user that they have not provided the input. The latter can be replaced with a function which asks the user for the input.
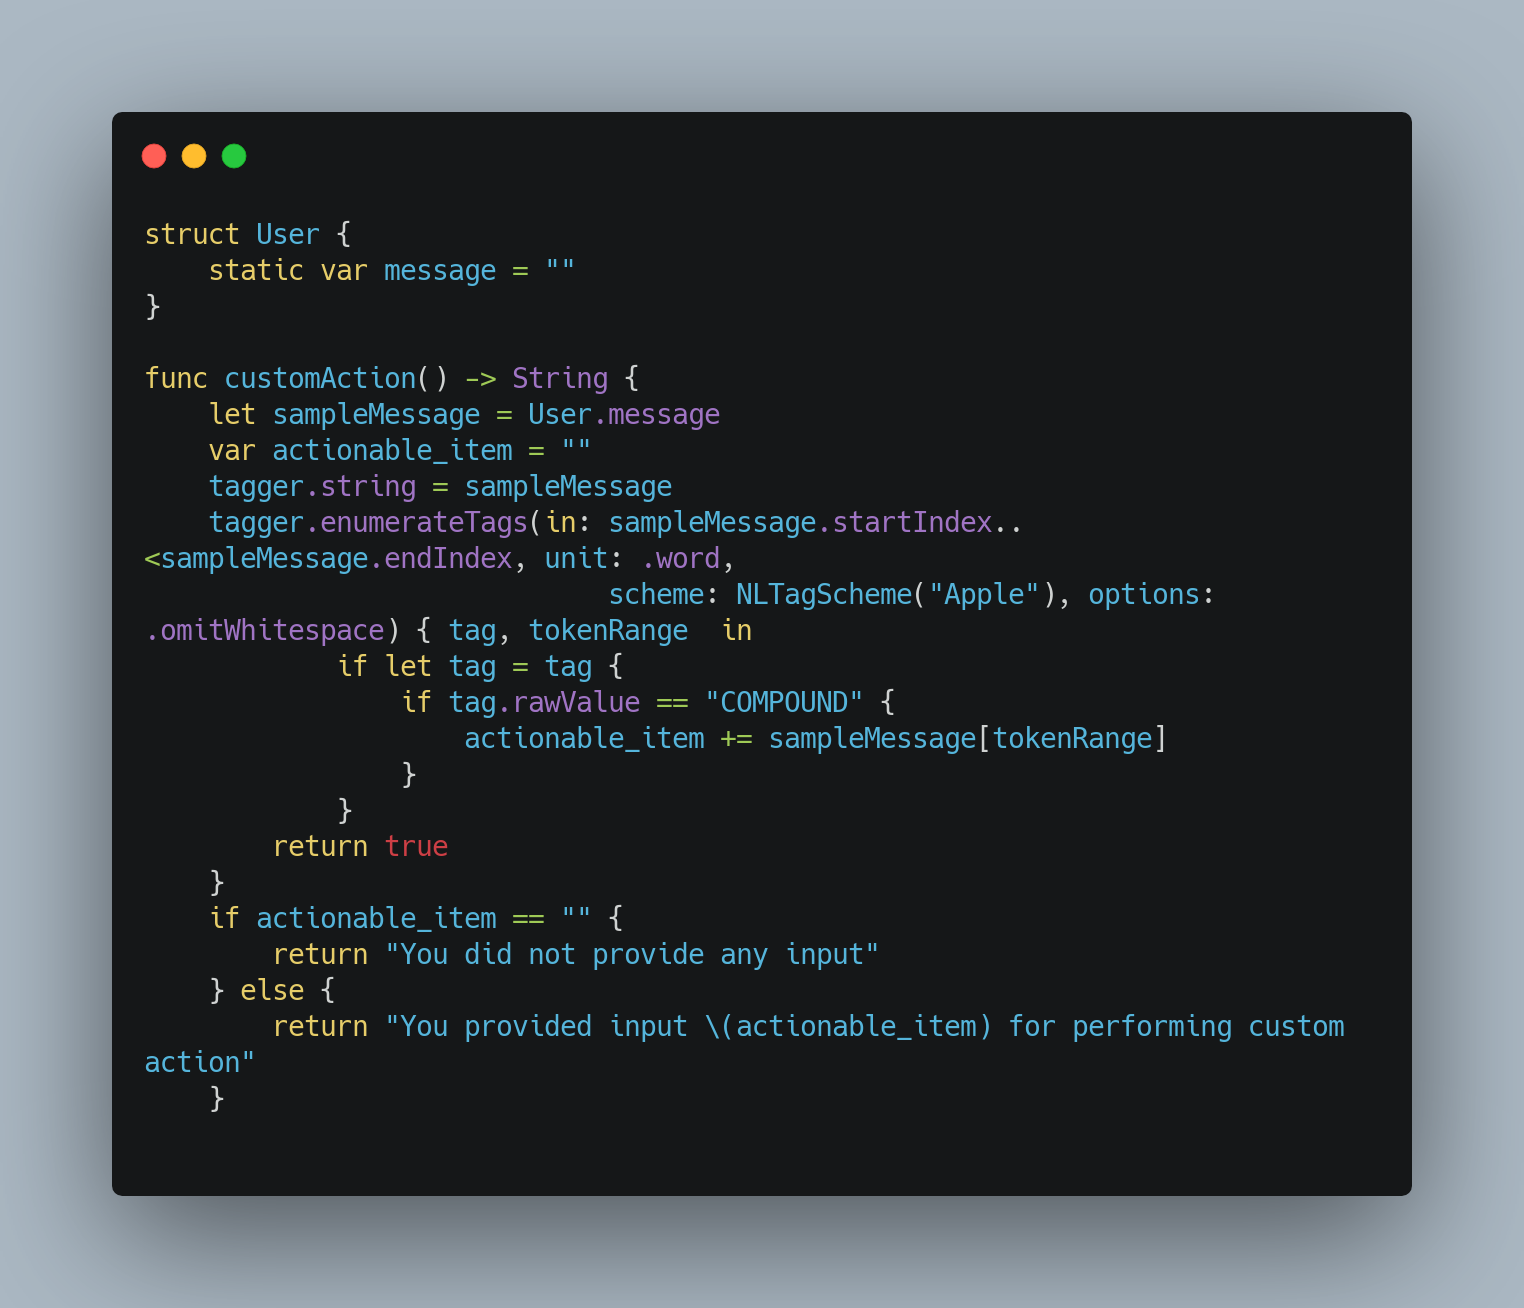
struct User {
    static var message = ""
}

func customAction() -> String {
    let sampleMessage = User.message
    var actionable_item = ""
    tagger.string = sampleMessage
    tagger.enumerateTags(in: sampleMessage.startIndex..<sampleMessage.endIndex, unit: .word,
                             scheme: NLTagScheme("Apple"), options: .omitWhitespace) { tag, tokenRange  in
            if let tag = tag {
                if tag.rawValue == "COMPOUND" {
                    actionable_item += sampleMessage[tokenRange]
                }
            }
        return true
    }
    if actionable_item == "" {
        return "You did not provide any input"
    } else {
        return "You provided input \(actionable_item) for performing custom action"
    }

}
Sometimes, no action needs to be performed, and the bot can use a predefined set of responses. Otherwise, if an action is required, it can call the custom action.
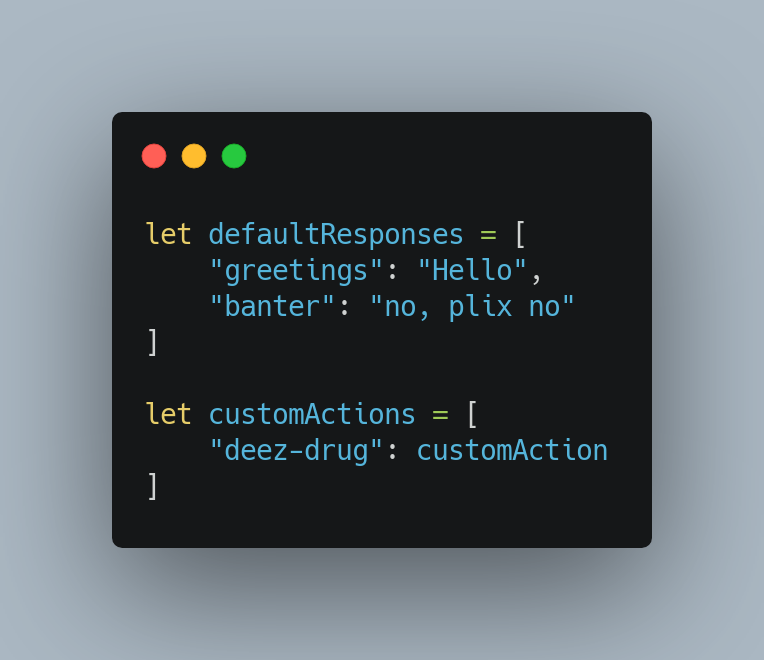
let defaultResponses = [
    "greetings": "Hello",
    "banter": "no, plix no"
]

let customActions = [
    "deez-drug": customAction
]
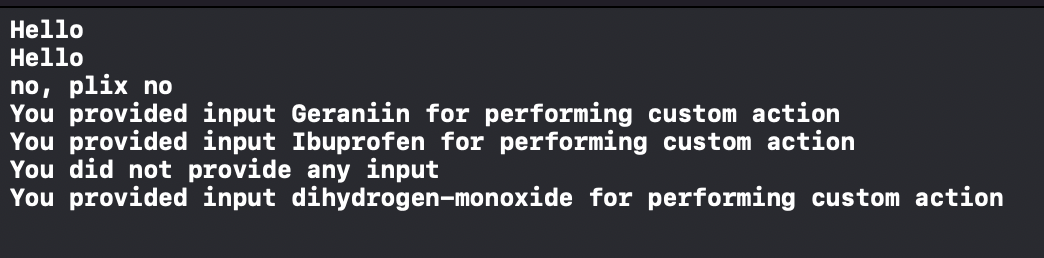
In the sample input, the program is updating the User.message and checking if it has a default response. Otherwise, it calls the custom action.

let sampleMessages = [
    "Hey there, how is it going",
    "hello, there",
    "Who let the dogs out",
    "can you tell me about the compound Geraniin",
    "what do you know about the compound Ibuprofen",
    "please, tell me more about the compound",
    "please, tell me more about the molecule dihydrogen-monoxide"
]

for sampleMessage in sampleMessages {
    User.message = sampleMessage
    let prediction = intentPredictor.predictedLabel(for: sampleMessage)

    if (defaultResponses[prediction!] != nil) {
        print(defaultResponses[prediction!]!)
    } else if (customActions[prediction!] != nil) {
        print(customActions[prediction!]!())
    }
}
So easy.
If I ever release a part-2, it will either be about implementing this in Tensorflow.JS or an iOS app using SwiftUI ;)